Import audit transactions into Sage 50 Accounts from Excel or CSV file
If you spend time importing transactions into Sage but find that you can't do the things you want to with the standard Sage import functions, then this module will help you.
For instance, in earlier versions of Sage you cannot assign project code or cost code, and not even in the latest version can you assign the charity fund for a transaction. You can with our program.
Additionally, you are not allowed to import sales receipts (SR) or purchase payments (PP) with the standard Sage import. Our version will take your SR or PP transaction and attempt to allocate it to a corresponding invoice (or invoices) with matching customer/supplier account and invoice reference. If it fails to find a match or there is a surplus, it will post the remainder as an SA or PA accordingly, which can be allocated manually in the usual way within Sage Accounts.
As with all operations which modify your Sage accounts you should take a backup first just in case.
Settings
The data in your import spreadsheet is matched to fields in Sage according to the column headings. You can define these on the settings tab of Productivity Suite if you use custom field headings. Or you can use the defaults as shown in our example import spreadsheet .
Running the operation

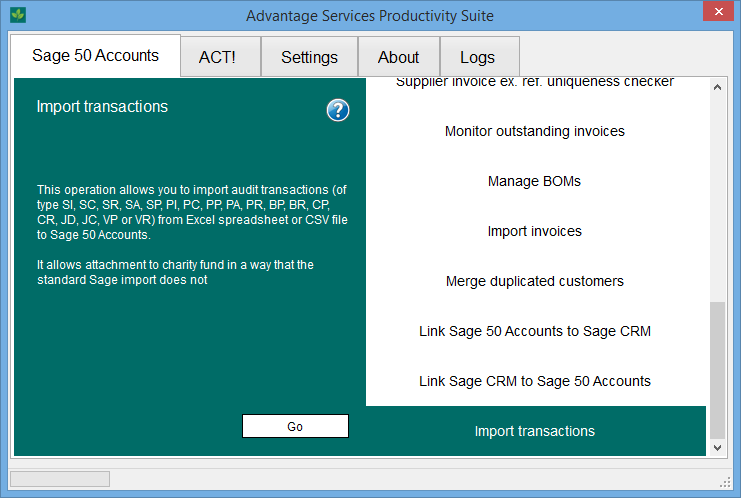
Once you are ready to start, select the "Import transactions" operation and press go.

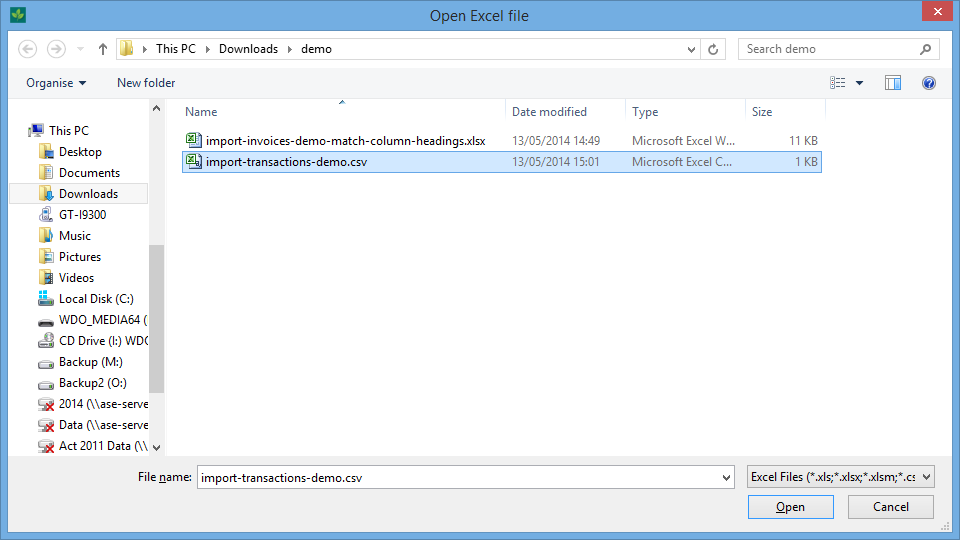
You will be prompted to open the Excel file which you want to import.
If you want to set yours up from a template which uses the default column headings, then use this template .
Note that if you have your own template already, make sure you put the correct column headings into the settings within Productivity Suite.
The spreadsheet will load and Productivity Suite will check it for errors. If any errors are found (e.g. an account reference is wrong) then a screen will appear telling you which rows of the spreadsheet errors were found on. Nothing will be imported to ensure that no incorrect data ends up in Sage Accounts. You can then correct the errors in the spreadsheet and try again.

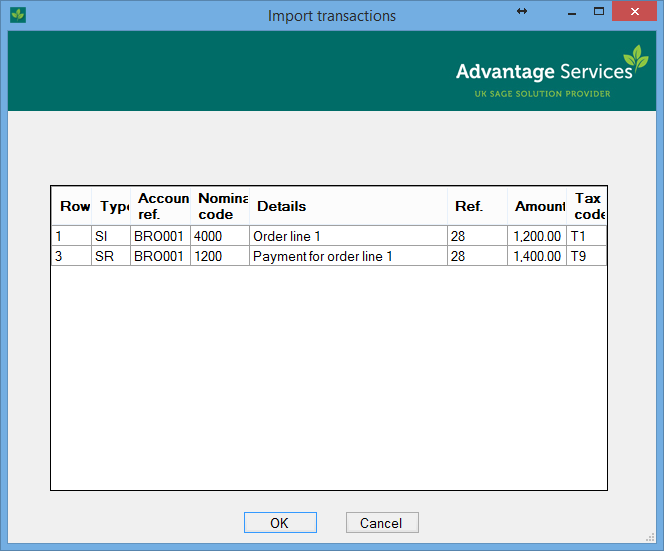
When the spreadsheet has been successfully processed a confirmation screen will appear which lists the transactions to be imported. Press OK and your transactions will be automatically imported into Sage 50 Accounts.
The demo mode will stop at this point, but if you want a trial licence to see the final step where the data is imported into Sage, please speak to our sales team.
This example given shows a sales invoice with two order lines, and the payment automatically allocated to those invoice lines.


